

Preserve Family Photos with Bolt Computer Training
- Jonathan Murrietta
- Aug 13, 2018
- 5 min read

Now that you’re back from summer vacation, you’re probably excited to look back at and share those awesome vacation photos. But don’t let those spectacular shots of the Grand Tetons or the Great Salt Lake just sit on your hard drive. Here’s an idea: make a new photo album slideshow to share with your friends using the photo album feature on Microsoft PowerPoint! It’s fun, easy, and will preserve your favorite memories to treasure forever.
Susan Boltinghouse, owner of Bolt Computer Training, created a slideshow in PowerPoint of when she and her husband Jeff went on a road trip to Utah. Within minutes, all of her favorite memories from that trip, including her visit to the Great Salt Lake, displayed beautifully on her computer screen. You too can create a photo album of your favorite vacation memories using PowerPoint, and Bolt Computer Training will show you how.
There are two great new classes being offered at Bolt Computer Training—an introduction to PowerPoint and how to use the photo album feature of PowerPoint—for those amazing vacation photos. Each class is $79 and lasts two hours. The classes are offered in-person at the Bolt Computer Training Center in Long Beach or through remote training using Zoom video conference software.
PowerPoint comes bundled with Microsoft Office and is probably already on your computer. The hardest part, however, is picking which photos you’d like to use and highlight for your photo album. Susan suggests you bring your photos already organized to use class time efficiently.
“I guarantee that you will be able to make your own slideshows after just one class,” Susan said.
The Bolt Computer Training class takes us through the process of creating the perfect summer family vacation photo album and presenting it as a slideshow in PowerPoint.
The Steps to a Fantastic Family Vacation Photo Album
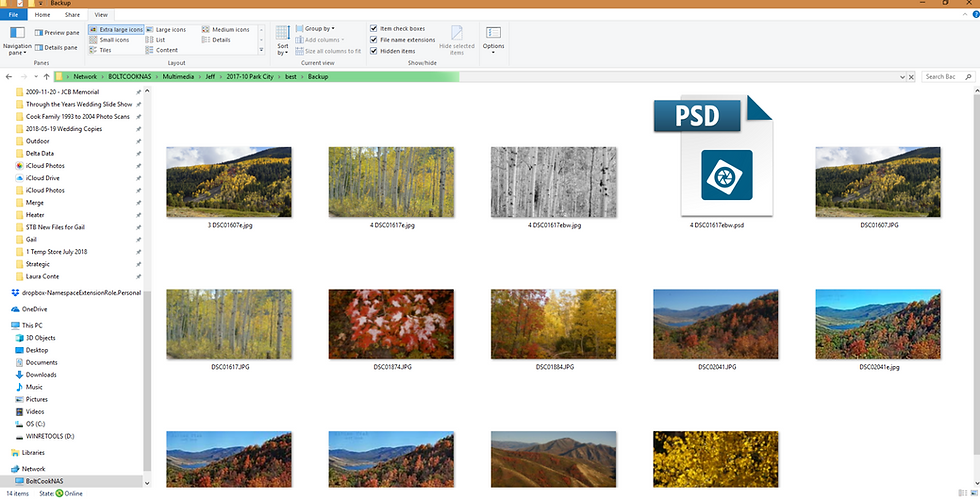
Before opening PowerPoint to create your album, organize your vacation photos in one folder for easy access. Susan suggests using rating software like Adobe Photoshop Elements or software from the Windows store to store your better photos in one directory—she can also show you how to do this in her class. Once your photos have been selected, you may want to compress the size of your photos and copy them to a new folder or directory. This will make it easy to import them into PowerPoint. Then, follow the following steps:

Setting Up Your PowerPoint
Open PowerPoint and select “Blank Presentation.” Microsoft will default the theme to a blank background. But don’t worry about this yet. Go to the “Insert” tab and select “Insert Photo Album.” Select and insert pictures from the “File” tab or from a local disk. You must click on each photo to insert them, but this takes only seconds.
Select Your Theme
Once your photos are in the presentation, you can then edit the photo album and change the theme. This is the fun part! Find a new theme online or make your own. You may want a simple theme—sometimes a lightly-colored background or simple border is all you need. For example, when Susan's son Daniel got married earlier this summer, she created a photo album of the wedding with a light peach-colored backdrop.
Once you have a theme that you like, select “Create.” After this, the new template on PowerPoint will be displayed. Save it as a PowerPoint template. Format your background and then click “Apply to All.”

Organize, Organize, Organize
Organize your photos by selecting the “Slide Sorter View” and easily remove similar or bad photos.
Add Your Personal Touch
Add any desired text and other decorative touches to each slide, which can be accessed at the toolbar at the top. You can spend as much or as little time as you want here.
Select all your photos and set a default transition style through the “Transitions” tab. You can also select different transitions for each slide to make it interesting. Still in the Transitions tab, select a transition time for the entire slideshow. This is where you can set the advance slide time for all the slides at once. Try three or four seconds, but adjust for your audience and target slideshow time. This can be quickly changed later if needed.
Choose some music as a soundtrack to your slideshow. On your first slide, select “Insert,” “Audio,” then “Audio from my PC” (or, “Audio from File” for Mac users.) Find one or more audio clips on your computer that you would like to use; if you want one song to play and repeat during the slideshow, select “Start After Previous” (not, “Start on Mouse Click”) and “Play Across Slides.” If you would like to create musical chapters in your slideshow, find a slide that represents a change in the slideshow story, then add a new audio clip on that slide.

Tell Your Own Story
Want to tell your story once and for all? Add an audio narration to your slideshow. Go to the “Slideshow” tab and select “Record Slideshow.” Make sure to test your microphone and audio setting levels on a test slide or two before recording a narration of the entire slideshow.
“The narration feature is a great way to preserve all of your excitement and information about the trip,” Boltinghouse said. “While it is fresh in your mind. It’s only ‘con’ is it increases final file size. I’ve also used this for my family genealogy slideshows—I had my mother record a narration about her 1947 trip to Chicago for a slideshow created with her old photographs—can’t beat that for preserving family history.”
Finalize!
Run your slideshow, listen, and tweak as necessary. Within minutes, you will have a pretty awesome slideshow of your vacation photos.

Pros and Cons of PowerPoint for Slideshows and Photo Album Sharing
Pros: It’s easy to include many photos and is easy to adjust timings. It’s also possible to put your own narration or music, not just default, canned music in the background. It’s also simple to edit which photos go in which folder, and it’s easy to rotate photos as well.
Cons: Photo album templates are limited and musical chapter timing is a little tricky to set up. The final slideshow file size will be big, so you might not be able to email it. To remedy this, share your final slideshow on Google Drive, Dropbox, or equivalent. Make sure your recipient plays it using PowerPoint—don’t try to run it on Google Slides. Downloading it is also a good idea.
If this seems like a lot of steps to do at home by yourself, Susan Boltinghouse is friendly and available to help you create the perfect vacation photo album. Contact Bolt Computer Training today at (562) 425-4450 or email Susan@BoltComputerTraining.com
Visit http://www.boltcomputertraining.com to view other courses and to learn more.


代发外链 提权重点击找我;
蜘蛛池 蜘蛛池;
谷歌马甲包/ 谷歌马甲包;
谷歌霸屏 谷歌霸屏;
谷歌霸屏 谷歌霸屏
蜘蛛池 蜘蛛池
谷歌快排 谷歌快排
Google外链 Google外链
谷歌留痕 谷歌留痕
Gái Gọi…
Gái Gọi…
Dịch Vụ…
谷歌霸屏 谷歌霸屏
负面删除 负面删除
币圈推广 币圈推广
Google权重提升 Google权重提升
Google外链 Google外链
google留痕 google留痕
google seo google seo技术飞机TG-cheng716051;
03topgame 03topgame
gamesimes gamesimes;
Fortune Tiger Fortune Tiger;
Fortune Tiger Slots Fortune Tiger…
Fortune Tiger Fortune Tiger;
EPS машины EPS машины;
Fortune Tiger Fortune Tiger;
EPS Machine EPS Cutting Machine;
EPS Machine EPS and EPP…
EPP Machine EPP Shape Moulding…
EPS Machine EPS and EPP…
EPTU Machine ETPU Moulding Machine
EPS Machine EPS Cutting Machine;
google seo…
03topgame 03topgame
gamesimes gamesimes;
Fortune Tiger…
Fortune Tiger…
Fortune Tiger…
EPS Machine…
EPS Machine…
seo seo
betwin betwin;
777 777;
slots slots;
Fortune Tiger…
谷歌seo优化 谷歌SEO优化+外链发布+权重提升;
google 优化 seo技术+jingcheng-seo.com+秒收录;
Fortune Tiger Fortune Tiger;
Fortune Tiger Fortune Tiger;
Fortune Tiger Fortune Tiger;
Fortune Tiger Fortune Tiger;
Fortune Tiger Slots Fortune…
站群/ 站群
gamesimes gamesimes;
EPS машины EPS машины;
03topgame 03topgame
EPS Machine EPS Cutting…
EPS Machine EPS and…
EPP Machine EPP Shape…
Fortune Tiger Fortune Tiger;
google seo google seo技术飞机TG-cheng716051;
03topgame 03topgame
Jogos JOGOS
Fortune Tiger Fortune Tiger;
Fortune Tiger Slots Fortune Tiger…
Fortune Tiger Fortune Tiger;
EPS машины EPS машины;
Fortune Tiger Fortune Tiger;
EPS Machine EPS Cutting Machine;
EPS Machine EPS and EPP…
EPP Machine EPP Shape Moulding…
EPS Machine EPS and EPP…
EPTU Machine ETPU Moulding Machine
EPS Machine EPS Cutting Machine;